On this page
Part of the tutorial: page 10 of 12
▶ Watch this page: part 10 of the tutorial video (about 1 min), with narration and subtitles.
Tutorial 10: Finishing and sharing
Give the map its finishing touches, export it as an image, and keep a backup of your maps.
Start from: 09-exploring-the-world.json, the map as it is at the end of Tutorial 09 Exploring the world. Download it, then open Maps on the rail and click Import JSON; the map is listed under its name, and Load opens it. Or carry on with your own map from Tutorial 09 Exploring the world.
The Finish stage of the rail has two tools. Cartography adds what is drawn over the map: a scale bar, a border, the grid, a compass rose, a cartouche holding the map's title, and images of your own. Export turns the map into an image, and in Foundry into a scene. An export shows the map as the map controls show it, so choosing what to include is part of exporting.
Steps
-
Click Cartography on the rail. In Scale bar, tick Enable scale bar: it is drawn near the bottom left corner, and with Match world scale on it measures the world truly, here 200 km to each major tick. In Border, tick Enable map border and set Border style to Ornate. Zoom in on the bottom left corner to see them.
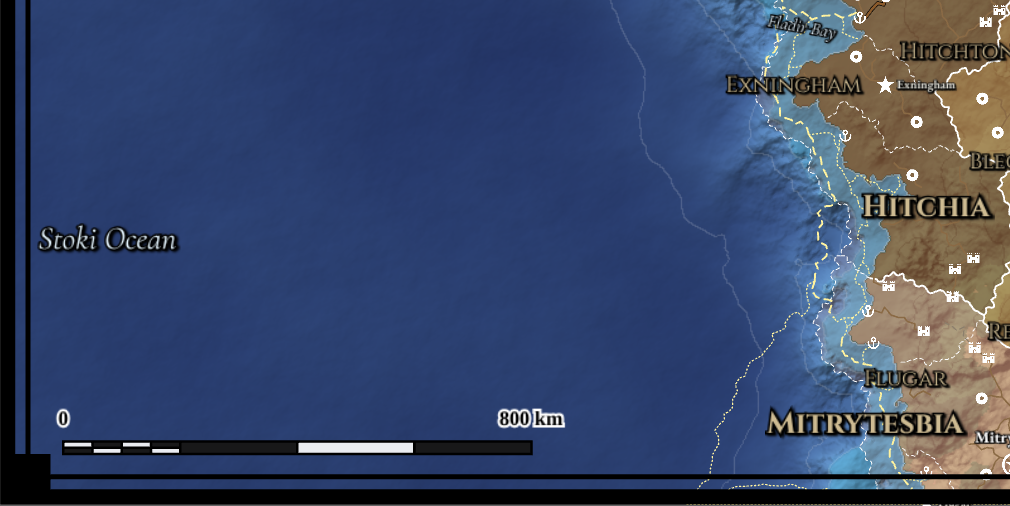
The scale bar and the ornate border in the map's bottom left corner.
Choose Move on the bar to drag the scale bar elsewhere.
-
Click Add decoration on the bar and choose Compass rose: the module draws one and opens it in the inspector, where its Design, points, colours and lettering can be changed. Close the inspector, then click Add decoration again and choose Cartouche: a panel holding the map's title, its name, Tutorial world, which it follows if you rename the map. Close the inspector and click Reset view to see both.
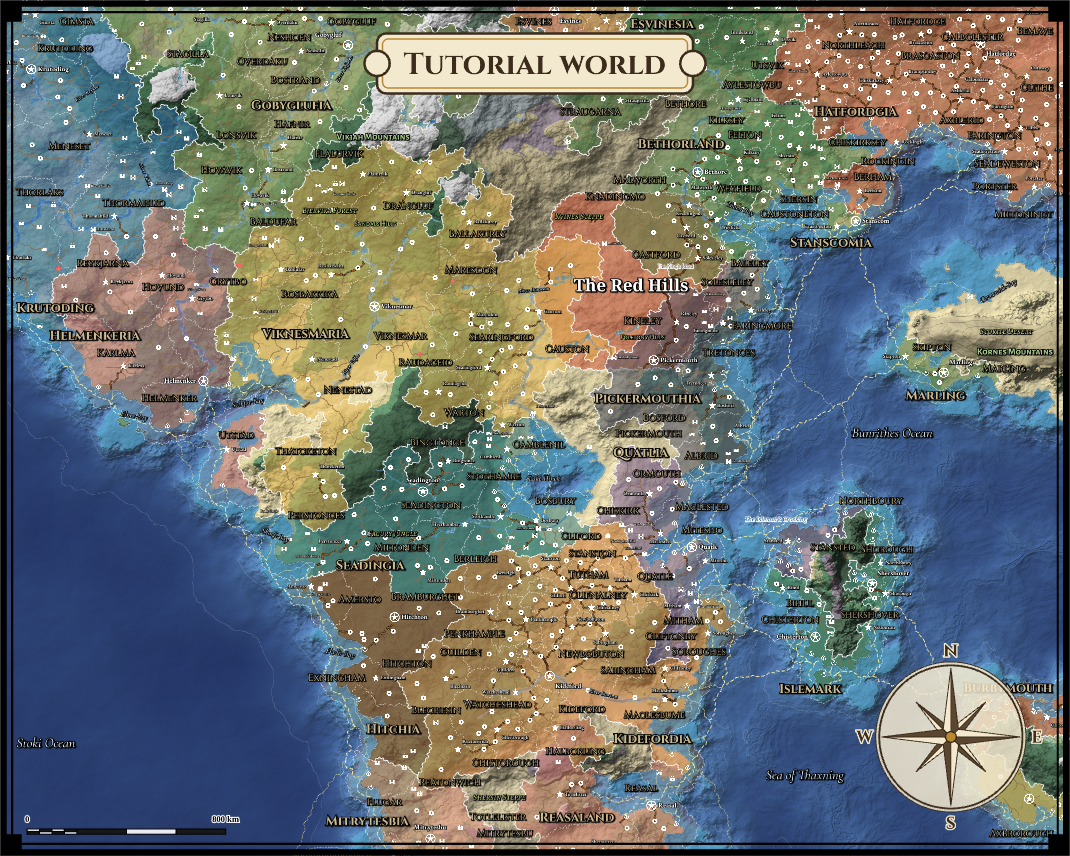
The map with its compass rose and its title in a cartouche.
Choose Move on the bar to drag a decoration elsewhere; while you hold one, scroll to turn it and Shift+Scroll to resize it. Add decoration also adds an image of your own. Names on the map keep clear of the decorations.
-
In Grid, set Grid pattern to Hexagonal (columns). Choosing a pattern switches the grid on in the map controls, so you can see it: zoom in on the Red Hills to look. The grid is a setting of the map: in Foundry, a scene exported from the map gets the same grid, lined up with it, and each cell's biome and terrain are written onto the scene for other modules to read. Click Grid in the map controls to hide it again; the map keeps its pattern.
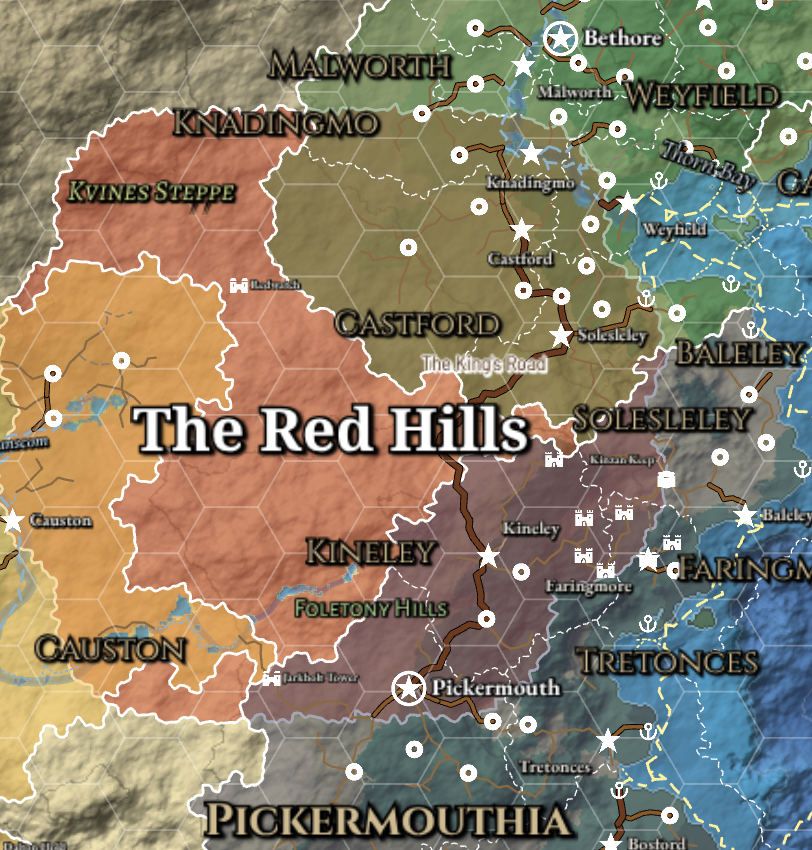
A hexagonal grid over the Red Hills.
Grid size sets a cell's size in pixels, from 20 (the smallest Foundry allows) to 300. A PNG includes the grid only while it is shown.
-
Click Grid in the map controls to hide the grid, and Contours to hide the sea's depth lines, for a clean player map. Then click Reset view. What the map controls show is what an export shows, so this is the moment to choose: the Detail level, the region layers and label styles in the Regions and Labels menus, and the layers on the buttons.
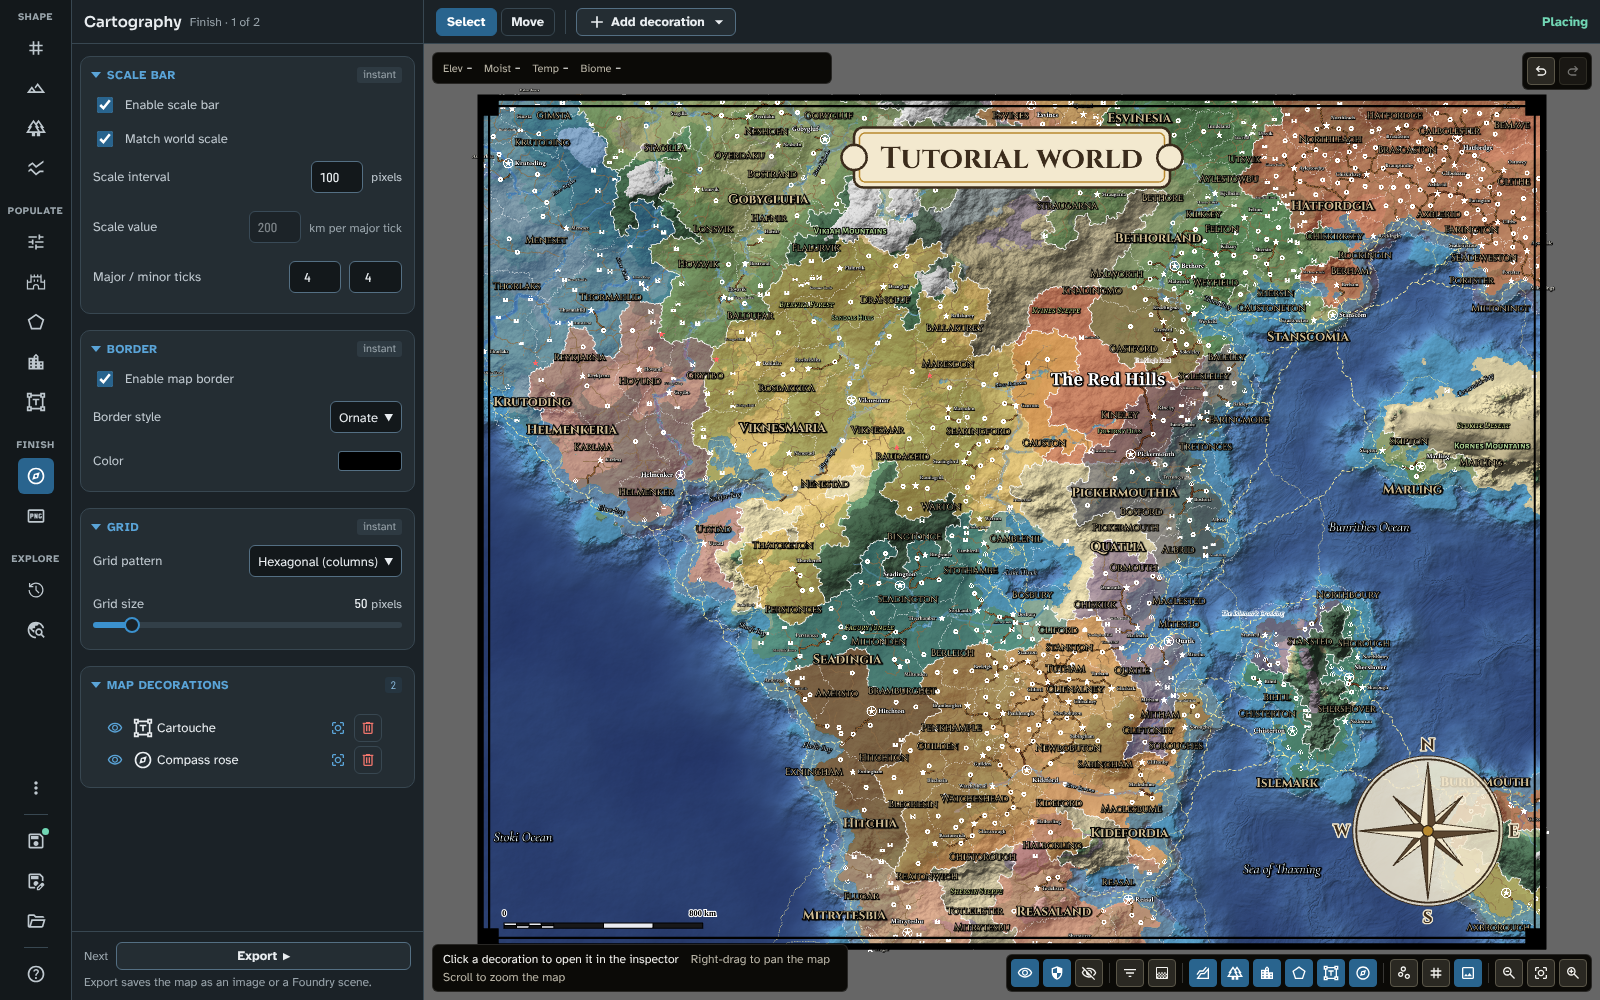
The finished map, with the grid and contours hidden.
Items set to GM only are left out of a player image. In Foundry, a scene export puts them on a hidden overlay tile that only the GM sees.
-
Click Export on the rail, then Export image. The dialogue offers the image's Scale, from the map's own size (1×) to four times it, each with the image's size in pixels. The scale chosen at first is the recommended one, the smallest at which the smallest names can be read, and the line below it says why. Set Image format and quality to PNG.
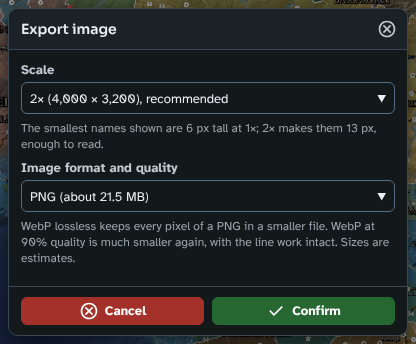
The Export image dialogue, with the recommended scale chosen.
WebP, lossless gives the same picture at about 60% of a PNG's size, and WebP, 90% quality about a fifth, with the line work intact; each format shows its estimated size (see Export).
-
Click Confirm. The studio draws the image at that scale and saves it to your browser's downloads, named after the map (fwmb_tutorial_world.png).
-
Save the map. Then click Maps on the rail and, under Backup, click Back up all maps: every map you have saved goes into one zip file, with the images and pin icons they use. On the web your maps live in the browser, so keep a backup somewhere safe; Restore from backup brings them back, in the web studio or in Foundry. To share one map, use Export JSON in its card's ⋮ menu, which is how this tutorial's maps were made.
What you should see
The map with a scale bar in the bottom left corner, an ornate border, a compass rose and a cartouche with its title, and a hexagonal grid that is set but hidden; a PNG of it and a backup of your maps in your downloads.
To compare your map with the tutorial's, or to start the next page from exactly this map, download 10-finishing-and-sharing.json and import it in Maps with Import JSON.
In Foundry
In Foundry, the Export tool also has Export to scene, which makes the map a playable scene. Its dialogue asks for the scene's name, the folder for its images and the scale (with the same recommended one), and whether to make journal pages and a GM overlay. The scene gets the map as its background, the map's grid (sized so Foundry's ruler measures true distances), a hidden tile with the GM-only items, and a journal entry with a page for each named place, route and region, among them Kineley's description. Exporting again to the same name updates the scene and keeps the walls, lights and tokens you placed. See Export.
On your own map
Finish every map the same way: scale bar, border, compass rose and title, grid, then the map controls for what goes in. Make two images from one map with the view filters in the map controls: Player view alone for your players, GM view too for yourself. Raise the Symbol size in the Detail menu if names are small in a large image. Back up after every session of work on the web, since your browser can clear its storage. See Cartography, Export and Maps.
Next: Tutorial 11 A regional map
Related: Cartography, Export, Maps, Map Canvas